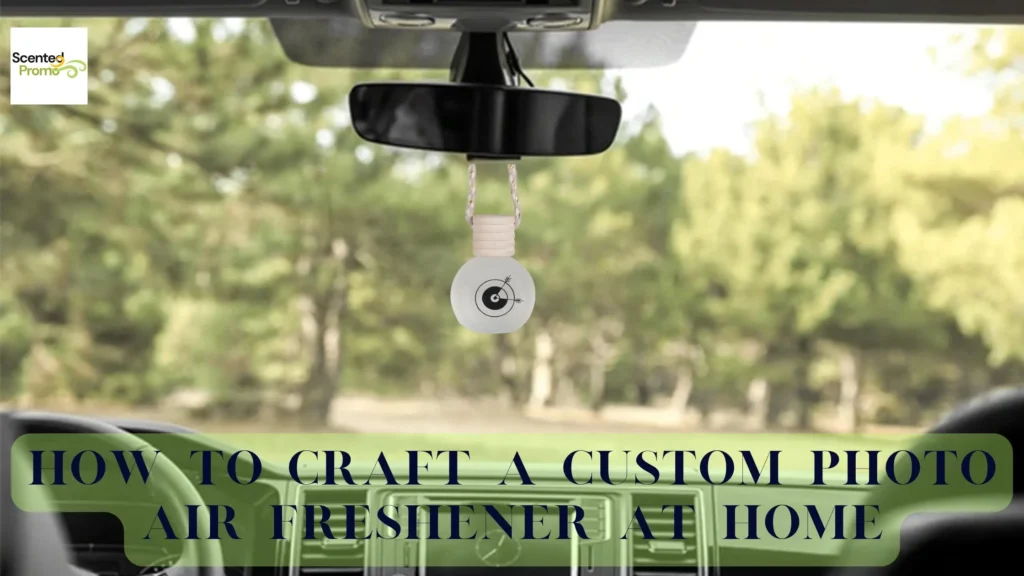
Creating a custom photo air freshener is a fun, inexpensive, and creative project that can make a meaningful gift. Imagine your favourite photo greeting you each time you enter your car while filling the space with a delightful scent. Whether it’s a loved one, a pet, or a scenic landscape that makes you happy, turning that image into a custom car air freshener is easier than you might think. Here’s a step-by-step guide to crafting a personalized photo air freshener at home.
1. Why Choose a Custom Photo Air Freshener?
There are many reasons to choose a custom photo air freshener over traditional ones. Not only can you add a personal touch, but you can also select your favourite Scent to enhance your driving experience. You can control the look and aroma with photo car air freshener customization. This craft project can be a thoughtful gift for friends or family, mainly if you include a meaningful image and Scent.
2. Materials Needed
Before diving into the project, gather the materials. Most of these items are around the house or at your local craft store. Here’s what you’ll need:
A favourite photo (printed on high-quality paper or fabric)
Felt fabric (to absorb and hold the Scent)
Scissors (sharp ones for precise cuts)
Mod Podge or glue (to attach the photo to the felt)
Essential oils or fragrance oil (for scenting)
Hole puncher (to add a string hole)
String or ribbon (to hang your air freshener)
Clear sealant spray (optional to protect the photo)
3. Preparing the Photo
Choosing the right photo is essential. Ensure it’s a high-resolution image so that details are precise when printed. After selecting your photo, resize it to fit comfortably in your car’s interior without obstructing your view. Depending on your preference, you can print it at home or at a print shop.
Printing Tips:
Use thick paper for durability.
Print on transfer paper to easily transfer the image onto the felt fabric.
4. Attaching the Photo to Felt
The felt serves two purposes: holding the Scent and providing a sturdy backing for the photo. Here’s how to prepare the felt and attach the photo:
Cut the Felt: Cut the felt fabric into your desired shape. It can be a rectangle, circle, heart, or other fun shape. Make sure it’s large enough to hold your photo with an extra edge for aesthetics.
Apply Mod Podge or Glue: Place your printed photo onto the felt and secure it with Mod Podge or glue. Smooth out any air bubbles and ensure the edges are firmly attached.
Dry Time: Allow the Mod Podge or glue to dry completely. This might take up to an hour, depending on the adhesive. If using Mod Podge, apply a top layer over the photo to create a slight seal.
Optional Sealant: Spray a clear sealant over the photo to make it more durable, especially if you plan on using the air freshener for an extended period. Make sure it’s dry before proceeding to the next step.
5. Adding the Scent
One of the most enjoyable parts of this project is selecting the fragrance. Essential oils or fragrance oils work well for this purpose. Choose from scents like lavender, eucalyptus, vanilla, or even a citrus blend. Here’s how to add the smell scent:
Apply Drops: Add 5-10 drops of essential oil to the felt. Be careful not to add it directly to the photo. Instead, apply it to the back of the felt where it can absorb without affecting the image.
Drying: Allow the felt to absorb the oils for a few hours before placing the air freshener in your car. You don’t want any excess oil leaking onto surfaces.
Re-scenting: Over time, the Scent will fade. Add more essential oil drops to refresh the fragrance. This reuses the photo car air freshener and extends its lifespan.
6. Adding a String for Hanging
Your air freshener needs a way to hang from your car’s rearview mirror. Here’s how to add the string or ribbon:
Punch a Hole: Use a hole puncher to make a small hole at the top of the air freshener. Ensure it’s centered for balance.
Attach the String or Ribbon: Thread a string or ribbon through the hole, tying it securely. Choose a length that allows the air freshener to hang comfortably from the mirror without obstructing your view.
Final Touch: Add a decorative bead or bow for extra flair.
7. Tips for Long-Lasting Freshness
While your custom air freshener will be full of fragrance at first, it will gradually lose its Scent over time. Here are some tips for keeping it fresh:
Store Essential Oils in the Car: Carry a small bottle of the essential oil you used so you can refresh the Scent as needed.
Use Scented Fabric Softener: Another option is to apply a scented fabric softener sheet to the back of the felt. This can help maintain the fragrance longer.
Avoid Direct Sunlight: Heat can cause the Scent to fade quickly. Park in shaded areas to prolong the life of your photo car air freshener.
8. Customization Ideas
Making a custom air freshener allows you to get creative. Here are some unique ideas for making it your own:
Holiday Themes: Change photos and scents to match different seasons or holidays.
Personalized Gift Sets: Make a series of photo air fresheners with various photos and scents as a thoughtful gift.
Family or Pet Photos: These are great for sentimental value, and pets often make adorable additions to your air freshener collection.
9. Care and Maintenance
To keep your air freshener looking and smelling fresh:
Keep it Clean: Wipe the surface gently if it collects dust.
Avoid Moisture: Since it’s handmade, too much moisture can damage it. Please keep it away from direct contact with water.
Refresh Scent Regularly: Reapply essential oils as needed, usually every 1-2 weeks.
10. Benefits of a Custom Photo Car Air Freshener
Customizing your air freshener has plenty of advantages. Here are a few:
Eco-Friendly: Many store-bought air fresheners contain chemicals, but making your own allows you to use natural oils.
Cost-Effective: Crafting at home can save money in the long run.
Meaningful and Fun: Personalizing with a photo and Scent makes it uniquely yours, creating a warm connection to a memory or loved one.
Crafting a custom photo air freshener is simple, rewarding, and a perfect way to add a personal touch to your car. You can enjoy a favourite photo each time you drive and a customized scent. Not only does this DIY project save money, but it also allows for endless creativity. So, grab your materials and start making your photo car air freshener today for a unique aromatic experience!


 ICONIER Digital Agency